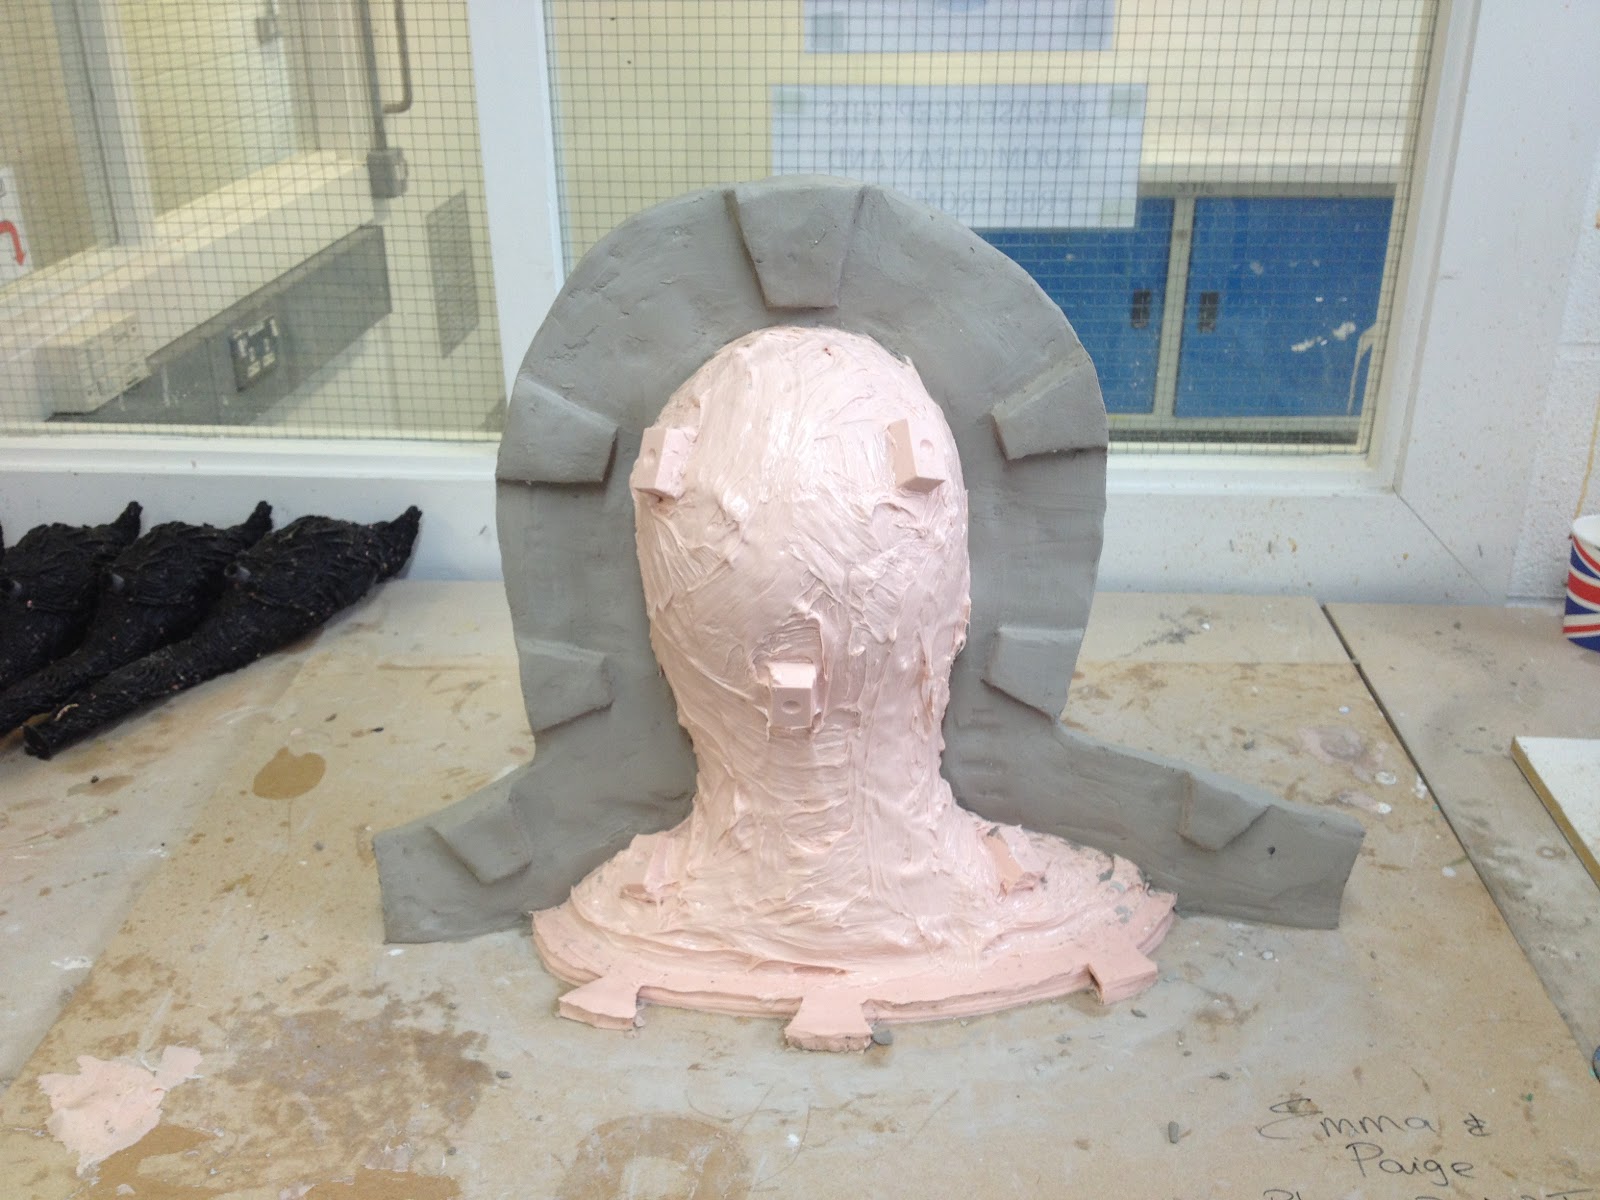
 The next stage in creating a fibre glass copy of the head casts was to create a fibre glass jacket around the silicone to support the mould. In order to do this, a line was drawn across the top of the head from shoulder to shoulder, creating a horizontal divide. Along this line, a clay wall was then created and supported with additional clay and mod rock along the back of it. Once the wall was completely smooth and tight to the head, small inverted triangular keys could be cut out and placed along the wall at intervals. The entire process to get perfectly took about an hour.
 Once the wall was finished and secure the board the head was secured to needed to be covered in a layer of mirror glaze wax in order to stop the fibre glass from fusing to it. Once this was complete, the head was ready to be fibre glassed. The first stage in fibre glassing is to apply a layer of gel coat resin all over the head, across the board and on the flange (clay wall). This was a thicker resin that needed to be left for approximately an hour before it was at the stage between dry and tacky, where the surface was dry but the base layer was still ever so slightly soft. We could then commence the first fibre glass layer, however, on our first attempt we made a slight mistake and accidentally used a second layer of gel coat to wet down the fibre glass sheets rather than the thinner resin that should have been used from this point onwards. Upon realising this we did initially panic, however, were assured that the only difficulty that this would cause was that some of the sharper fibre glass strands would not lie flat and would need to be sanded down at a later stage, and a few more air bubbles might occur, so the situation was salvageable. We continued the process using the correct resin and after applying 2 layers of fibre glass across the whole thing and an extra third layer onto the flange and base, the first half of the jacket was complete.
The main difficulty that we encountered throughout the entire fibre glassing process was with air bubbles, particularly as the fibre glass built up on the second and third layers. This was not such an issue when creating the fibre glass jackets as they only really need to support the silicone mould, however, when fibre glassing the inside to create a copy of the head we will attempt to over come this by first applying a layer of chopped strand fibre glass, then a layer of much finer fibre glass matting and then 2 or 3 layers of the normal, course fibre glass. This should prevent any air bubbles and pick up all the important detail and texture on the face.
Once the second half of the fibre glass jacket was completed and dry, it too needed to be trimmed down with the oscillating saw to remove any jagged edges and a series of 6mm holes drilled around the flange in-between the keys. Next came the tricky part; getting the two sides of the jacket apart and off of the plaster head beneath it. We began by using a chisel, hammer and wooden wedges to gradually split the two sides of fibre glass apart and were able to pull the back piece off relatively easily. A very sharp scalpel was then used to cut through the silicone along the join line so that the back piece could be peeled away and placed back inside it's fibre glass jacket. We had had our concerns throughout the entire process about Josh Whorriskey's head cast as his chin was tilted very far down and had a noticeable undercut. When we came to remove the front section of this particular fibre glass jacket our fears were confirmed and the head would not come away from the jacket. This meant the we had to undertake the very long process of chiselling out large mass of plaster out bit by bit unless enough leverage could be used to lift the remnants of the cast out. In order to avoid this in future, if a cast has a noticeable undercut it should be filled in with additional silicone. Thankfully we did not encounter the same problem with our other two casts of John and Josh Lonsdale and were eventually able to release them from their casings without any chiselling.
No comments:
Post a Comment